What Is Clay Barring and Why Does It Matter?
Even after a thorough wash, your car's paint holds onto microscopic contaminants that bond to the clear coat. These include industrial fallout, brake dust, rail dust, tree sap residue, overspray, and mineral deposits from hard water. You can feel them by running your fingertips across a freshly washed panel — if it feels gritty or rough instead of glass-smooth, contamination is present.
A clay bar (or clay mitt) physically pulls these bonded particles off the surface without cutting into the clear coat the way a compound would. Think of it as a deep cleanse between washing and polishing. The result is paint that feels impossibly smooth and accepts wax, sealant, or ceramic coating far more evenly.
If you have been using a beginner car wash kit and wondering why your paint still does not feel perfectly smooth after drying, contamination is almost certainly the answer.
What You Need Before Starting
Gather these supplies before you begin:
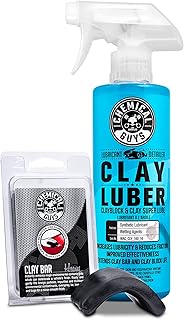
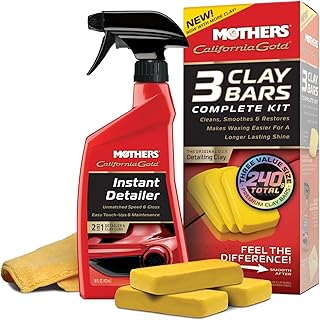
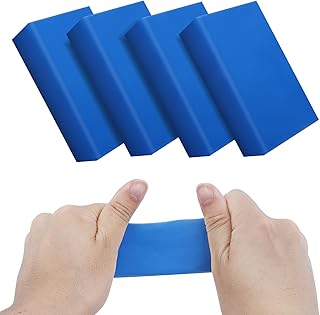
- Clay bar or clay mitt: Fine or medium grade for most cars. Aggressive clay only for severely neglected paint.
- Clay lubricant: Dedicated clay lube spray, quick detailer, or diluted car wash soap in a spray bottle.
- Microfiber towels: Several clean ones for wiping sections after claying.
- Car wash supplies: You must wash the car completely before claying. A foam cannon kit makes this step faster.
- Wax, sealant, or coating: Apply protection immediately after claying since the bare paint is exposed.
Step-by-Step Clay Bar Process
Step 1: Wash the Car Thoroughly
This is non-negotiable. Claying a dirty car grinds loose dirt into the paint and causes scratches. Do a full two-bucket wash or touchless pre-wash first. Make sure all visible dirt, mud, and debris are gone. You do not need to dry the car — many people clay while the paint is still wet.
Step 2: Prepare Your Clay
If using a traditional clay bar, tear off a piece about the size of a golf ball and flatten it into a disc shape. This gives you a working surface that conforms to the panel. If using a clay mitt, simply rinse it and put it on your hand. Either way, have your lubricant spray within easy reach.
Step 3: Lubricate Generously
Spray a generous amount of clay lube onto a section about 2 feet by 2 feet. The surface should be visibly wet and slippery. More lube is always better than less — if the clay starts grabbing or sticking, you need more lubrication immediately. Running clay on insufficient lube is the number one cause of clay marring.
Step 4: Glide the Clay Across the Panel
Using light pressure (let the weight of your hand do the work), glide the clay back and forth in straight lines across the lubricated section. Do not use circular motions — straight lines reduce the chance of creating swirl patterns if any marring occurs. You will feel the clay grabbing initially as it picks up contamination. As the section gets cleaner, the clay will glide more freely.
Step 5: Wipe and Inspect
After a few passes, wipe the section with a clean microfiber towel. Run your fingers across the paint — it should feel noticeably smoother than before. If it still feels rough, re-lubricate and clay again. Check your clay surface: if it is visibly dirty, fold it over to expose a fresh side. If using a clay bar and it becomes fully contaminated, switch to a new piece.
Step 6: Work Panel by Panel
Move systematically around the car: hood, roof, trunk, then sides. Do not skip the lower panels — they accumulate the most road contamination. The rocker panels and areas behind the wheels are usually the roughest and may need extra passes.
Step 7: Protect Immediately
Freshly clayed paint has zero protection. The contamination that was sitting on top was not protecting anything, but now the bare clear coat is exposed to the elements. Apply wax, paint sealant, or a spray ceramic coating as soon as you finish claying. Do not leave clayed paint unprotected overnight.